
Where to place the 'assets' folder in Android Studio?
Where to place the 'assets' folder in Android Studio?
Learn where to place the 'assets' folder in Android Studio, whether for main sources, build types, product flavors, or instrumentation tests, with simple steps.
Where to place the 'assets' folder in Android Studio?
Since Android Studio uses the new Gradle-based build system, you should be putting assets/ inside of the source sets (e.g., src/main/assets/).
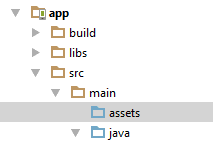
In a typical Android Studio project, you will have an app/ module, with a main/ sourceset (app/src/main/ off of the project root), and so your primary assets would go in app/src/main/assets/. However:
If you need assets specific to a build type, such as
debugversusrelease, you can create sourcesets for those roles (e.g,.app/src/release/assets/)Your product flavors can also have sourcesets with assets (e.g.,
app/src/googleplay/assets/)Your instrumentation tests can have an
androidTestsourceset with custom assets (e.g.,app/src/androidTest/assets/), though be sure to ask theInstrumentationRegistryforgetContext(), notgetTargetContext(), to access those assets
Let Android Studio do it for you.
1. In Android Studio (1.0 & above), right-click on the ![]() folder and navigate to the
folder and navigate to the Assets Folder
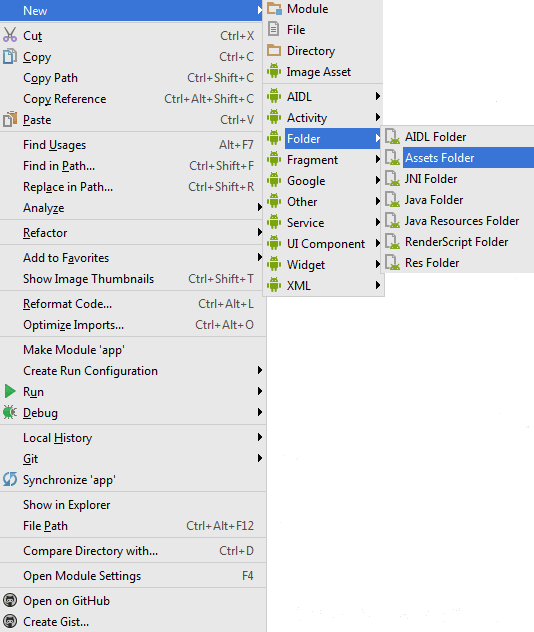
2. On the next screen just click Finish
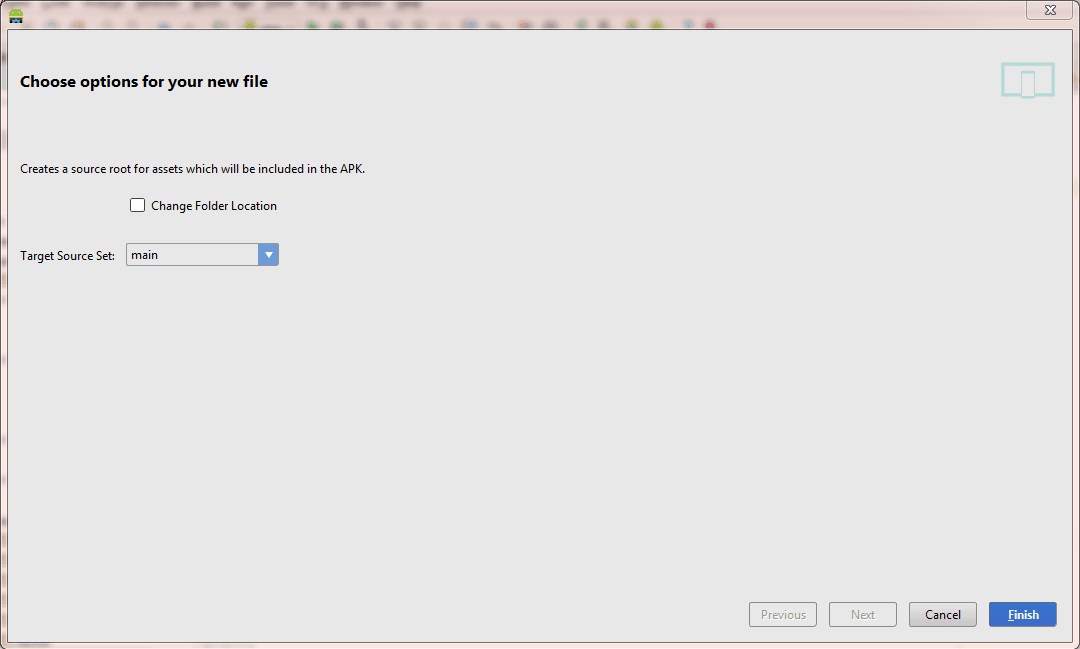
3. And voila! It will create the assets folder in the main target source set.
Conclusion
Placing the 'assets' folder in the correct location is key to maintaining an organized project structure in Android Studio.
By following the guidelines for different source sets and build types, you can ensure that your app’s assets are properly managed.
Using Android Studio’s automatic setup feature makes this process even easier, saving you time and reducing the risk of errors. With this knowledge, you can efficiently handle assets in your Android projects, regardless of their complexity.